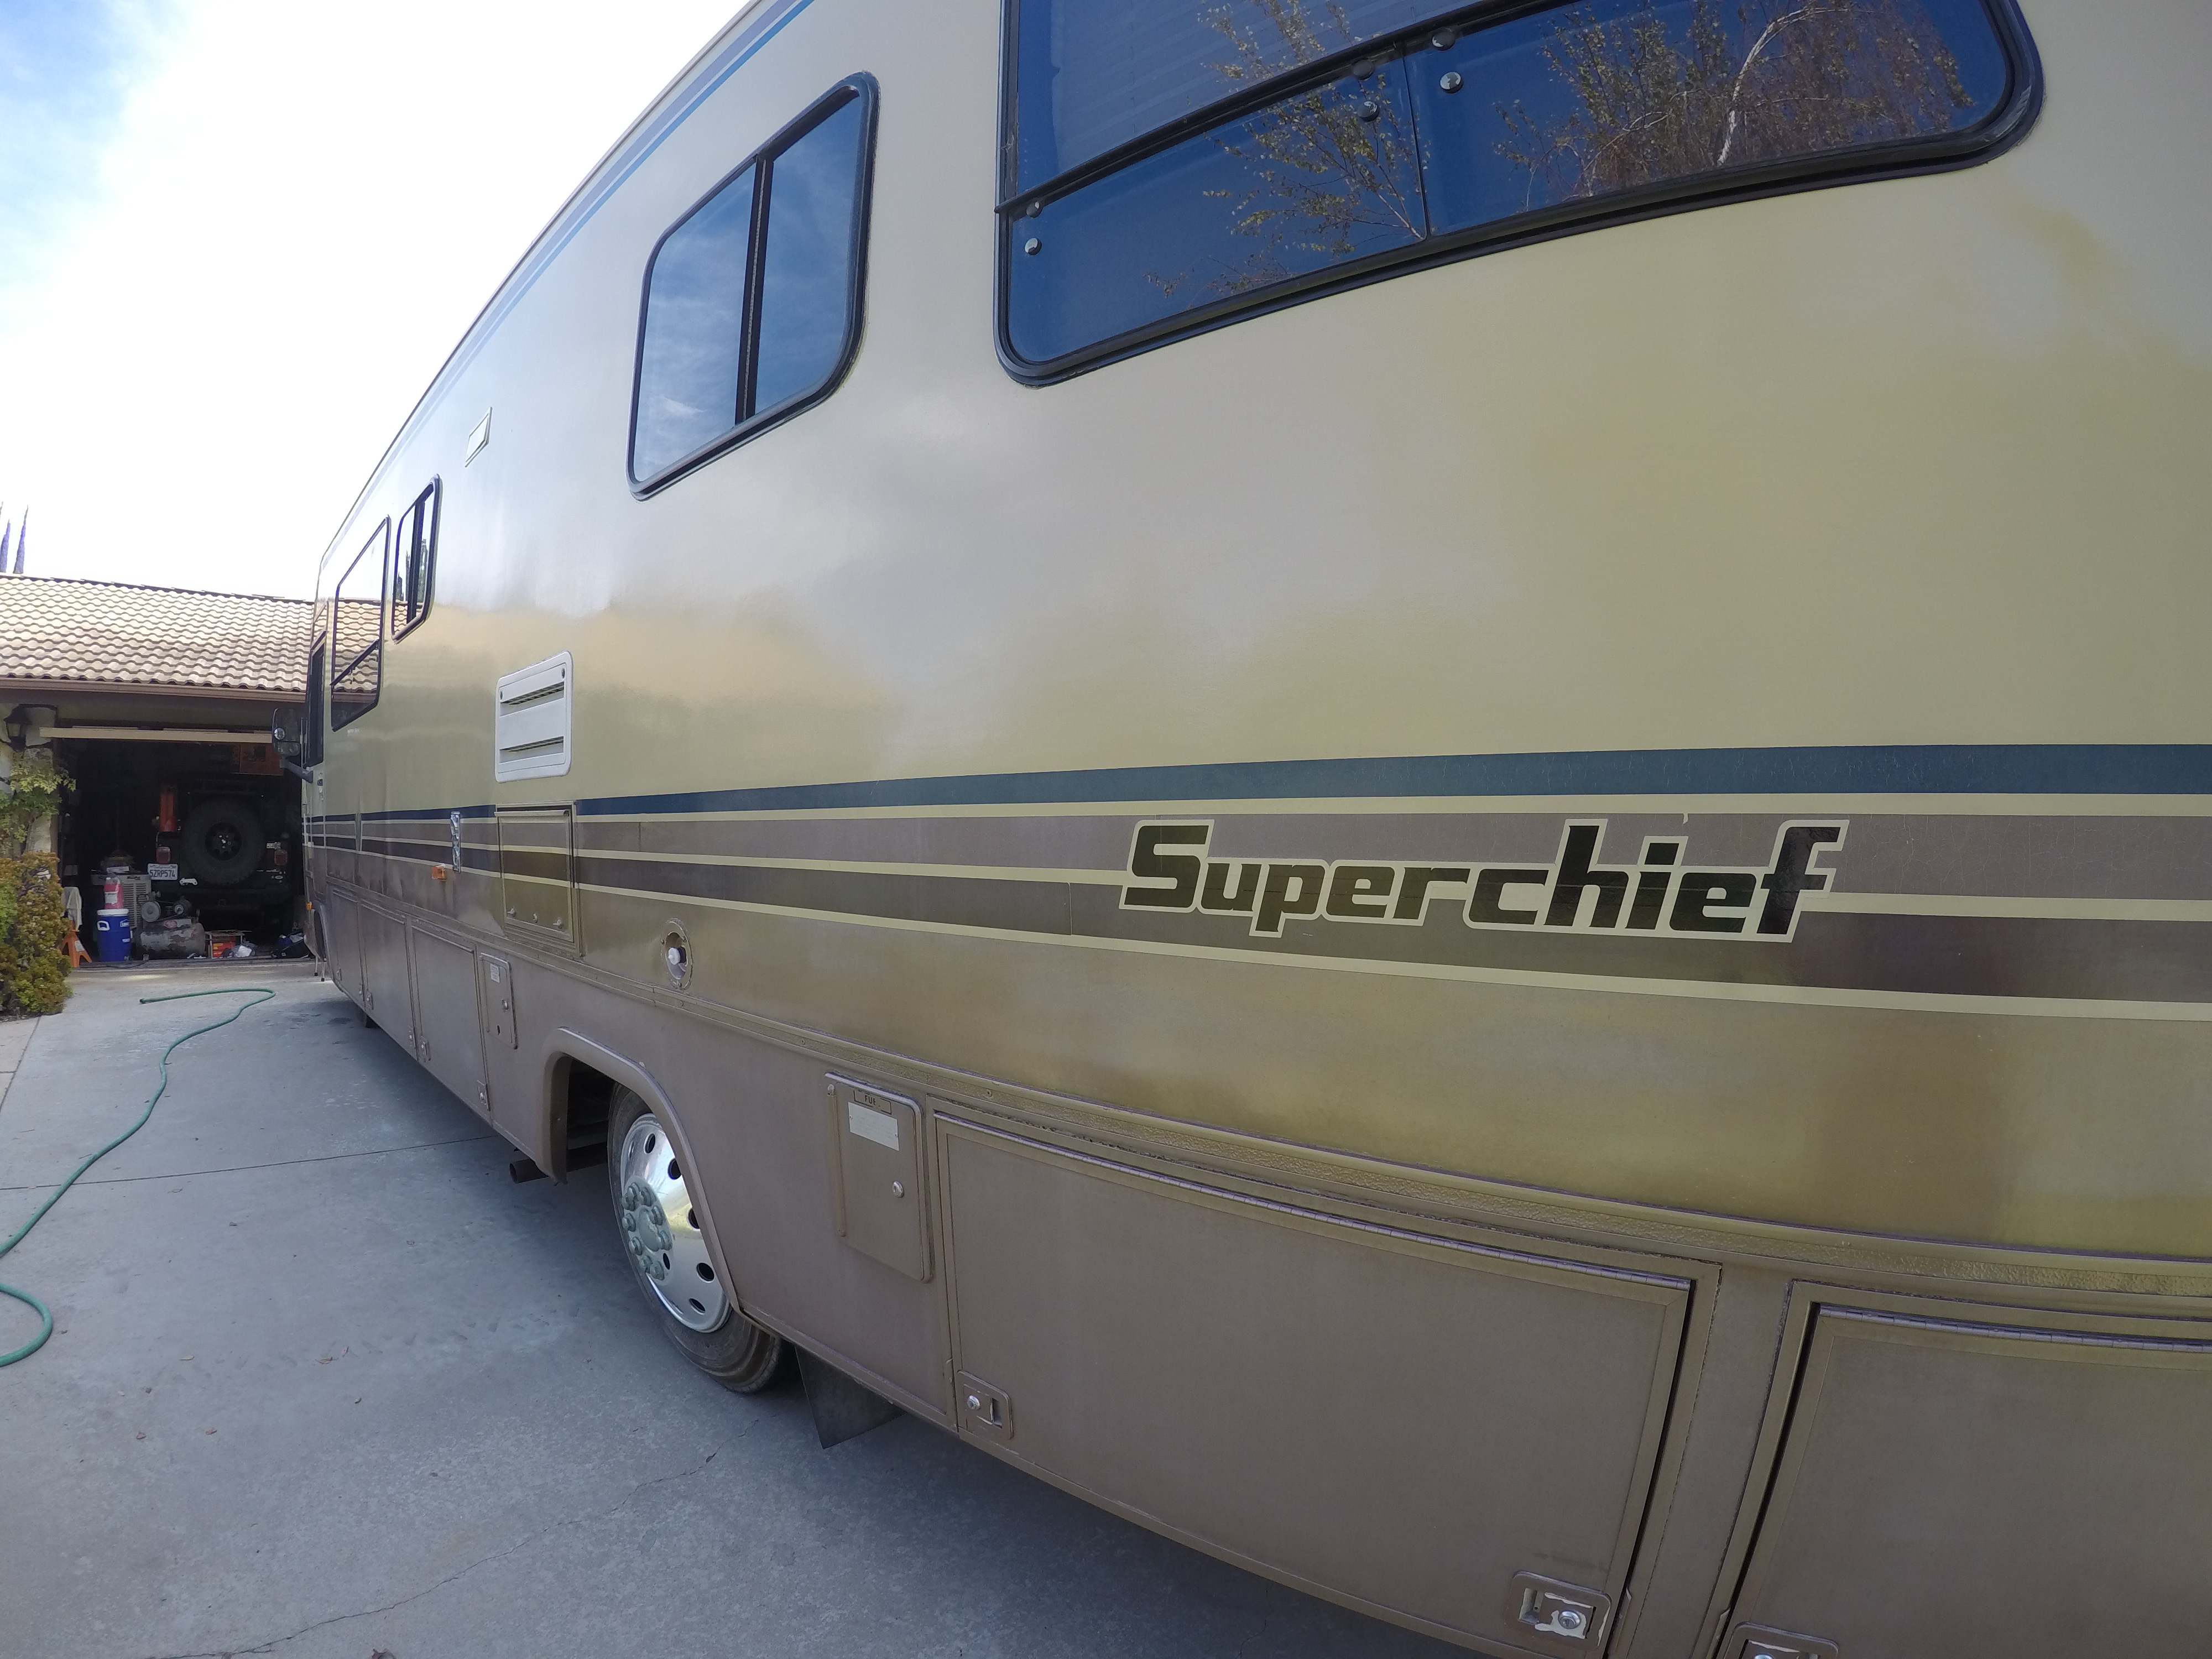
We have an old 1989 Winnebago Superchief that runs great, but the exterior looked dull and tired. After researching paint jobs and vinyl wraps that were out of our price range, my husband found a DIY polishing solution that, with a ton of elbow grease, shines up old RVs and helps repel dirt. This project took us two solid days to complete and about $100 worth of supplies. It’s best to wash/prep your RV on day one and apply at least one coat of polish, then come back on day two to finish applying 3-4 more coats of polish. The more polish you apply, the shinier and deeper the finish.

Supplies
Dish soap
Soft cloths for applying polish
Method
1. Wash the entire exterior of your RV with dish soap and rinse. We used the Foamaster II Cleaning Sprayer.
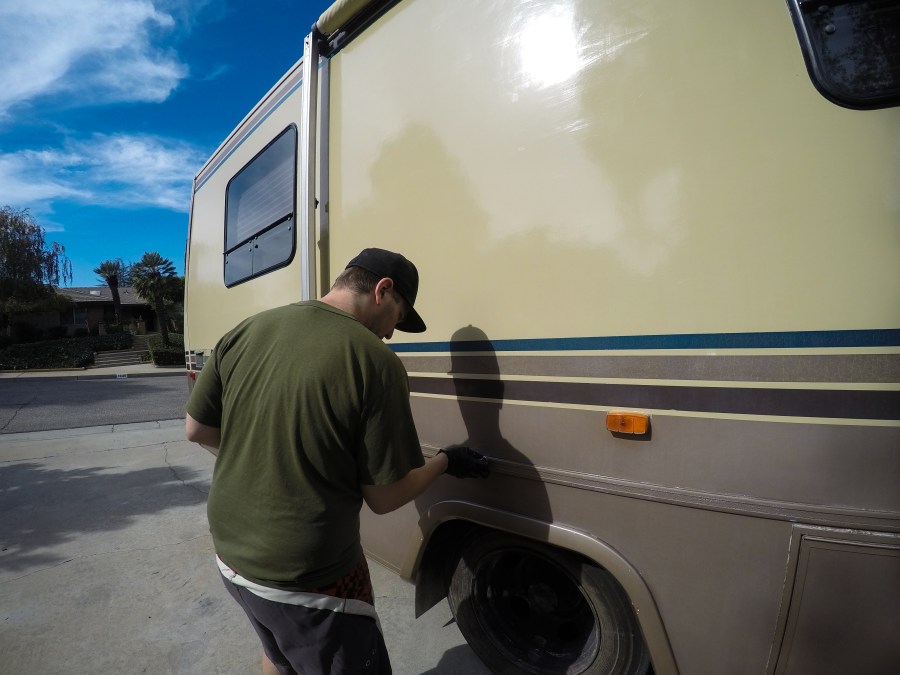
2. Using the 3M scouring pads, scrub the exterior with Bar Keepers Friend. Use some elbow grease; the purpose of this step is to score the surface and remove as much oxidation as possible. The better you scrub, the better the floor polish will stick.
3. Rinse and scrub off all the Bar Keeper’s Friend using dish soap. You can’t merely hose the Bar Keeper’s Friend off, you need to scrub it off with dish soap. We used the same 3M scouring pads to scrub it with dish soap.
4. Let the entire RV dry off. Apply Zep Wet-Look floor polish using a soft rag. It rubs on pretty easily, no need to press hard. Start with your decals first, and change rags when you change colored areas of your RV exterior. For example, we applied polish to the entire brown lower section of our RV first because we noticed the brown would bleed onto the rag and we didn’t want to smear colors onto the lighter areas of the RV.
5. Apply at least one coat of polish before calling it a day. The first coat of polish will look blotchy, but subsequent coats will start evening out the finish and look much better.
6. Aim for applying at least three coats of polish. The more coats, the shinier and stronger the finish!
Note: As an Amazon Associate I earn from qualifying purchases.
